This $200 IKEA Hack Is Almost Identical to This $4K Woven Raffia Dresser
Especially with a key hardware swap.
Updated Jun 14, 2019 10:13 AM
We may earn revenue from the products available on this page and participate in affiliate programs.
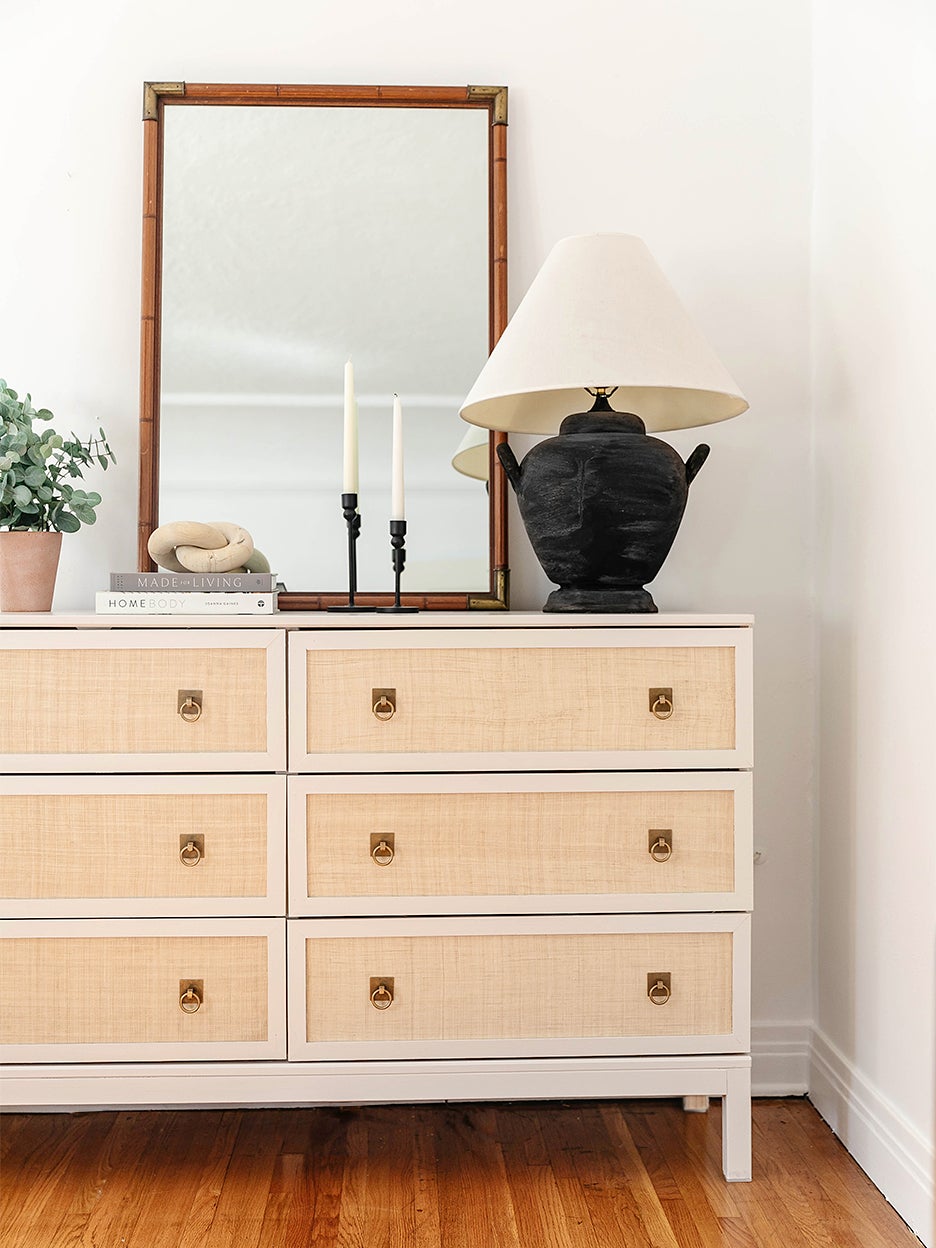
Drew Scott estimates he’s changed the knobs on his six-drawer IKEA Tarva dresser at least five times in the past few years, switching up the piece to match whatever room it was in at the moment. “This time I really wanted to go all out and give it a full-on makeover,” says the DIYer and YouTuber behind Lone Fox, who uses the storage piece to hold all his camera equipment, wood dowels, and fabrics. Luckily the plain pinewood Tarva line is one of the simplest of the Swedish retailer’s to hack.
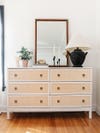
“Anything you do will elevate it, whether you add a little trim or paint it,” he says. Scott’s upgrade involved both of those things—plus a touch of raffia fabric and, of course, fresh hardware. “I like creating something that no one else has,” he adds. The whole project was inspired by high-end raffia-swathed chests he’s been seeing everywhere lately (Serena & Lily has one that will cost you $4,000). The only exception was his hack came in just under $400—including the cost of the $180 dresser. Catch the steps in his video and all the details for how to do it yourself, below.

The Supplies
- Tarva dresser
- Raffia cloth
- Gold handles
- Nail gun
- Miter saw
- White paint of your choice
- One can of Pale Oak paint by Benjamin Moore
- Paintbrush
- Foam roller
- Scissors
- 2 to 3 pieces of pinewood trim
- Mod Podge
- Measuring tape
- Caulk
Step 1: Create a Clean Slate
First up, scrap your old knobs. Because pinewood features dark knots, you’ll have to give the dresser drawer fronts a quick coat of white paint. “Any type will do as long as it’s a similar tone to the fabric you’ve chosen,” notes Scott. The DIYer used a hue called Ancient Ivory by Behr that he had lying around.
Step 2: Find the Best Fit
While that’s drying, using a pencil, mark the inside of your drawers with numbers 1 through 6. This will ensure that when you put them back in at the very end they’ll fit perfectly in their spots. “A lot of times with IKEA, the drawers are all a little bit different sizes,” explains Scott.
Step 3: Be Your Own Upholsterer
Take the drawers out and cut a strip of fine raffia cloth that almost covers the whole drawer front. Because you’ll be adding trim (see the next step), the textile doesn’t actually need to be the same dimensions of the surface. Scott left about an inch on each of the four sides and repeated for all six drawers.
Coat each of the drawer fronts in Mod Podge (yes, that adhesive stuff you used to use in art class is actually really strong and perfect for furniture DIYs like this). Let the glue sit for a few minutes until it becomes tacky. Lay your strips of fabric onto the surface, weighing it down with books or other heavy objects so it really sticks while it dries.
Step 4: Define the Edges
Cut four trim pieces per drawer front using a miter saw (or handle saw), focusing on getting a 45-degree angle on each end. Secure the wood parts to the drawer fronts with a nail gun. Cover the holes with caulk and wait for it to dry.
Step 5: Apply the Finishing Touches
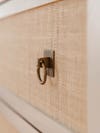
A coat of an off-white paint (Scott went with Benjamin Moore’s Pale Oak in a satin finish to give it a bit of a luxe sheen) is what really makes the piece look expensive in the end. He recommends applying the paint to the trim, top, and sides with a foam roller because it doesn’t leave streaks and won’t splatter everywhere in the process. Finally, go ahead and splurge a little on hardware. Scott’s Amazon handles came to $60 total (to install them, he used an X-Acto knife to cut through the fine fabric to find the original screw hole). This is the last time he’ll be changing the knobs on this now-standout piece.
For hands-on advice from designers and pro DIYers, plus more scrappy before-and-after transformations, subscribe to Reno. Let your in-box do all the hard work—for now.