A Pair of Air Jordans Inspired This Tricolor IKEA Shelf Hack
Faux brackets are a slam dunk.
Updated Oct 11, 2018 11:53 PM
We may earn revenue from the products available on this page and participate in affiliate programs.
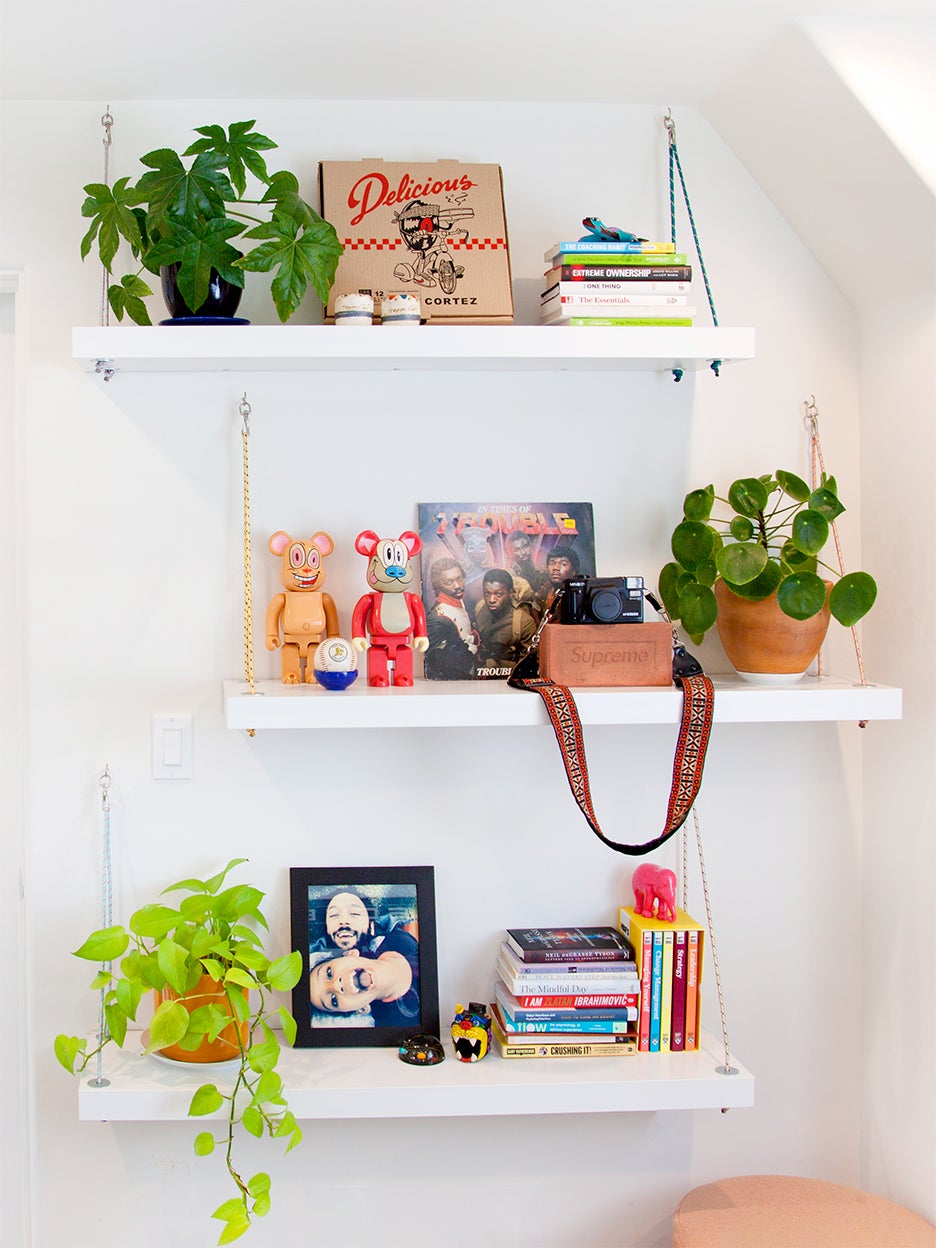
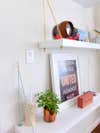
It started with a pair of Air Jordan 11s. Thayná Alves looked down at her sneakers and thought: These round laces would make the coolest shelf brackets. “They reminded me of hiking rope,” she recalls. The interior designer wasn’t sold on the basic white IKEA Lack shelves she had put up in her musician client’s home office in an effort to hide old laundry hookups in the wall (when styled strategically, you don’t even notice the hot and cold switches). Surrounded by Supreme skateboards, a life-size Kaws statue, and vintage Porsche posters, the floating pieces just didn’t fit in as is. “Sometimes ideas come out of nowhere,” says Alves. “I’m always looking at things in a different way, even unconventional things.”
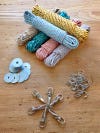
The designer picked up six different colors of climbing rope at her local REI in Pasadena, California (you can find similar material at Lowe’s and Home Depot, but outdoor supply stores tend to carry more colors and thicker string). In about an hour, she crafted fresh, solely decorative brackets for the cult-favorite Lack shelves. Here’s how to pull off her shoelace-inspired upgrade.
The Supplies
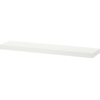
- IKEA Lack shelf
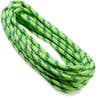
- Climbing cord
- Drill
- Circular metal rings
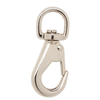
- Two spring links
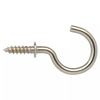
- Two cup hooks
- Hot glue
- Scissors
- Painter’s tape
Step 1: Set It Up, Sans String
Drill the bracket that comes with the shelf package into the studs of the wall and attach the shelf to make sure everything is straight. Screw two cup hooks into the wall above the shelf and hang the spring links from them. Take the shelf part off the hardware.
Step 2: With Caution, Carve Your Openings

Carefully drill four holes (one in each corner) through the shelf. “Those things are basically cardboard, so if you push too hard, it’s game over,” Alves points out. To prevent the sides from cracking as you drill, line the long edges with blue painter’s tape to help support the shell. Attach the shelves to the brackets.
Step 3: Cover Up Your Handiwork
Place the metal rings around each of the eight openings and glue them in place. This way you don’t see the rough edge created by the drill. “The MDF might have chipped a little in the process, so this gives it a nice and professional look,” says Alves.
Step 4: Hook It Up
The tricky part of this process is actually weaving the rope through the holes, because the interior of the shelf is hollow. Cut a slice of painter’s tape from the roll and shape it around the end of your string, creating a cone shape. The extra weight and pointed tip will make it a lot easier to feed the rope through both holes. Pull a generous amount of cord through—enough to reach the loop of the spring link and go back down into the other holes. Repeat for both sides. Cut the cord and tie the ends off in a single knot. This hack is a slam dunk.
Our Winter Renovation issue is here! Subscribe now to step inside Leanne Ford’s latest project—her own historic Pennsylvania home. Plus discover our new rules of reno.