How to Hack an Ikea Headboard
All you really need is a lot of staples and a little patience.
Published Jul 24, 2017 3:30 PM
We may earn revenue from the products available on this page and participate in affiliate programs.

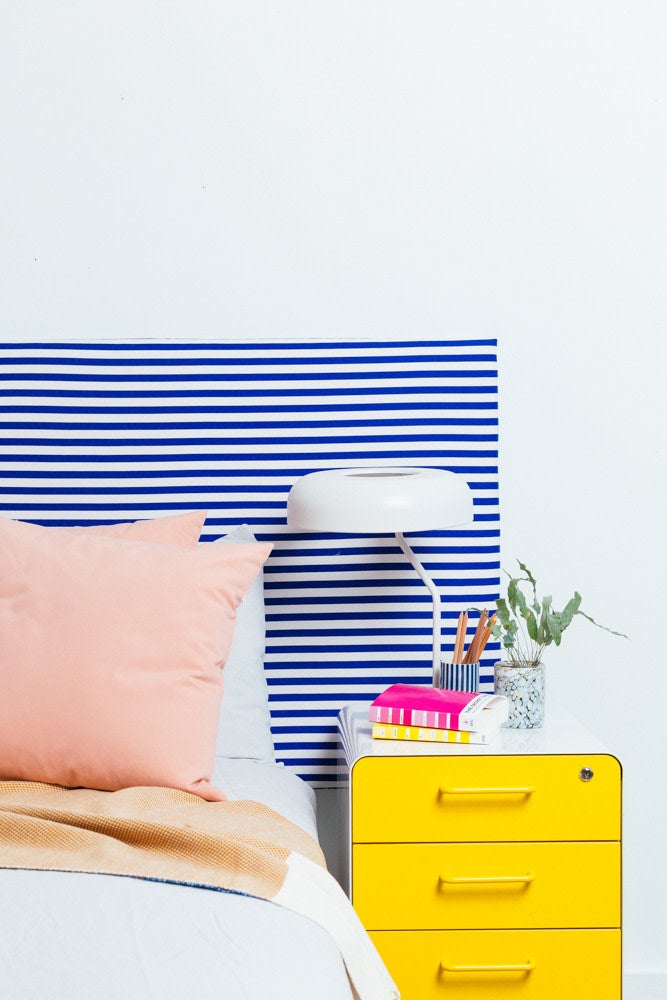
If you’re anything like me, your bedroom is a sanctuary—a reprieve from the hustle and bustle of the city streets (not to mention your roommate’s cats.) But, as a renter, it can be hard to turn that sanctuary into something truly special. That’s where this clever Ikea hack comes in. Using the brand’s Ryggestad pine table top, we created a high-impact headboard that’s sure to upgrade any space without breaking the bank.
Materials
- Ryggestad table top
- Patterned fabric
- Staple gun
- Batting
- Glue
- Picture hanging system
- Drill
- Level

Instructions
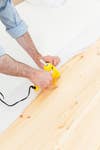
First, you’ll want to lay the table top flat and measure the batting against it. Leave extra material around the edges so that the entirety of the table top is covered with an additional 6-7” that can be folded over and stapled to the back of the wood.
Next, cut the batting to size. You’ll buy the material in a large roll and, depending on how plush you’d like the headboard to be, will want to cut it into a few oversized pieces.
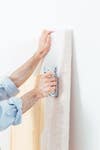
Fold the edges of the batting over each side of the table top and staple them down.

At each corner, cut away excess material from each fold so that it lays as flush as possible with the back of the table top. One roll gave us enough material for two layers and some change.
Before stapling the sides, glue the batting down, just to be extra sure that it won’t move.
Repeat these steps for each piece of batting you’ve cut. This photo shows our table top completely wrapped with batting.
Repeat the measuring and cutting process with your preferred fabric.
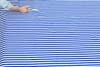
For this hack we used a bold blue and white cabana stripe to achieve a summer-perfect effect. Ikea also stocks its own range of fun fabrics to choose from.
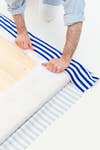
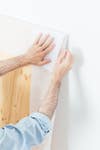
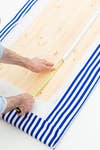
Once you’ve measured and cut your fabric, stretch it out over top the batting and fold it taut over each side of the table top, going from the bottom to the top. (Or side to side—whatever is easiest!)
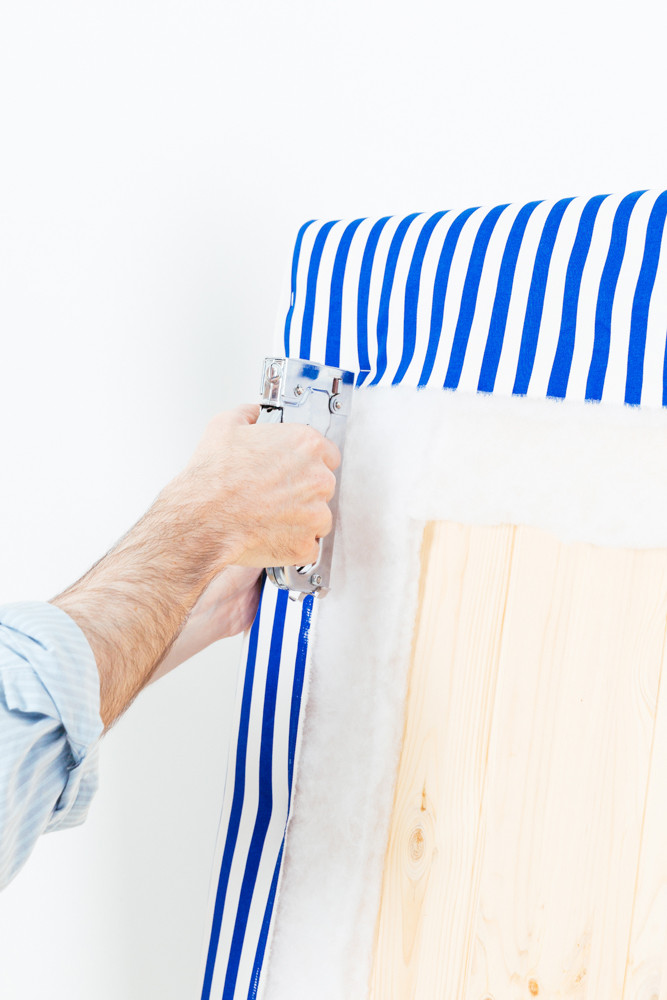
Since the fabric is thinner than the batting, you will not need to cut away the excess from each corner. Keep the corners as taut as possible, though, and fold any excess fabric neatly under so that the corners of the headboard are clean and crisp.
Once you’ve stapled the fabric to the back of the table top, cut away any excess fabric and glue down any rough edges. This will give you the cleanest possible surface to which you can install the picture hanging system.
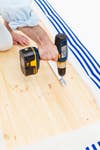
Use a tape measure to find the center of your headboard and mark where you want to place your hanging system.
The hanging system is usually reserved for—you guessed it—picture frames, but just one of these (depending on the size) can hold up to 300 pounds.
Using a drill, install the system on the back of the headboard, centered a couple of inches below the folds of fabric and batting.

Install the corresponding half of the system to your wall using a drill, and then ask a friend to help you lift your new headboard into place—et voilà! Step back and admire your handywork.
See more Ikea hacks:
Use This Ikea Hack to Give Your Home a Retro Vibe Use This 5-Minute Ikea Hack to Create a Mobile Herb Garden How to Turn an IKEA Pendant Light Into a Decorative Accent