This IKEA Staple Moonlights as a Greenhouse
Here’s how to keep your plants alive in one.
Published Oct 20, 2021 1:10 AM
We may earn revenue from the products available on this page and participate in affiliate programs.
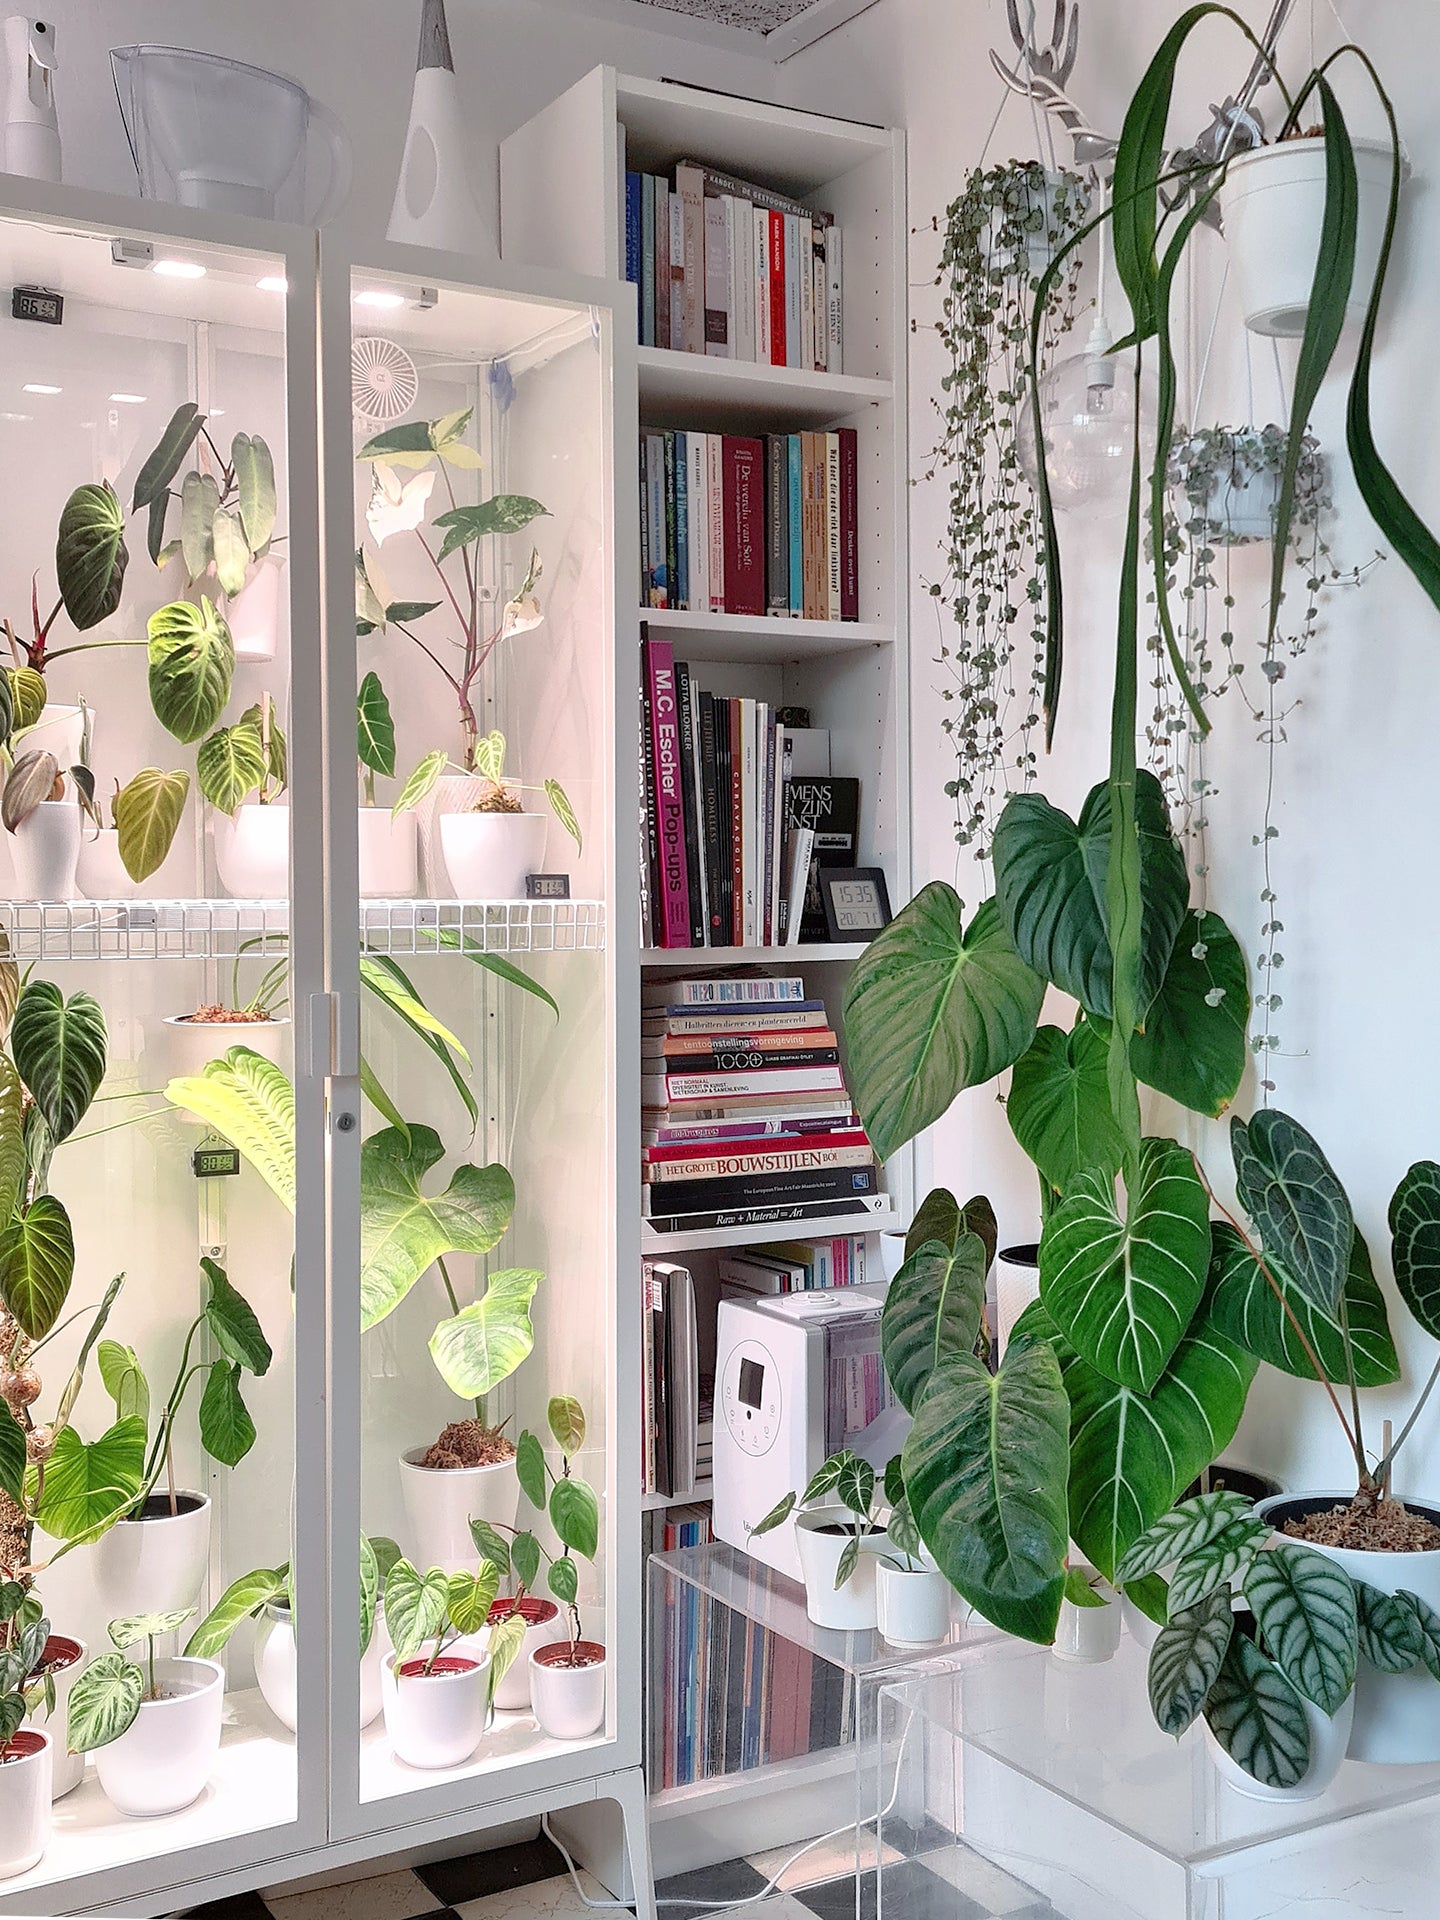
Robin Schouten’s search for a beautiful, budget-friendly indoor greenhouse was more difficult than expected. The plastic varieties weren’t aesthetically pleasing, and the larger, more professional options wouldn’t fit in her apartment. So Schouten, a Dutch health-care worker and plant enthusiast, decided to make her own—out of an IKEA Fabrikör cabinet.
The IKEA cabinet-turned-greenhouse was still a novel concept in 2019 when she set out to construct a working plant station. It may seem as easy as assemble and fill, but to keep every leaf happy, it takes a little more fussing. However, information around the logistics was sparse, and people weren’t willing to share their findings. “I wanted to help expose the plant community that I loved so much [to this idea],” explains Schouten.
In an effort to make swapping tips, tricks, and organizational layouts (Schouten’s favorite element) easier, a hashtag and corresponding account, @ikeagreenhousecabinet, were born in December 2019. A second setup and 144,000 followers later, she is an expert at maximizing indoor growth. Here, Schouten points out the most important elements of a greenhouse cabinet—and why customization is key.
Glass Houses
Everyone knows most plants don’t thrive in the dark, so it’s vital to have a case that will let in a lot of light. It also looks great once everything is on display. Other than the Fabrikör, Schouten has seen people retrofit the Milsbo, Baggebo, and Rudsta. “Each option is beginner-friendly. It comes down to your personal preference, because each cabinet works the same,” she explains.
Go With the Wind
While you may think that the most important accessory is a grow light (more on that later), Schouten insists that it’s actually a fan. “Without actively moving air, your plants will die,” she says. “Mold will grow and the leaves will start to turn yellow and fall.” Schouten recommends a mini portable option, which you can connect to a USB extension cord if you don’t want to worry about recharging. But if you’d rather keep the setup minimal, opening the doors for a few minutes each day will do the trick.
Glowing and Growing
Schouten’s apartment is on the darker side, especially in the winter, so each of her greenhouses is outfitted with small grow light strips, attached to the ceiling of the cabinet with Command Strips. But she says they’re not always necessary. If you live in an already-light-filled space, you should be okay; just place the cabinet near a window as you would a lone pot.
Take the Fast Track
If you’re putting humidity-loving plants in your Fabrikör, you’ll want to keep an eye on moisture levels. Schouten has a mini humidifier inside hers and uses a hygrometer to track the humidity (typically it reads between 80 and 90 percent).
Personality Pick
Schouten’s favorite personalizations? An all-black interior, painted or contact-papered (the greenery pops), and swapping the shelves for a pegboard—cut a standard one to size and stick to the back with more Command Strips—to allow trailing ivies to climb. Get creative with it—with multiple cabinet configurations, there’s no wrong answer.