How to Paint Kitchen Cabinets, From Unfinished Wood to Tricky IKEA Laminate
Including what to look for in a primer.
Updated Feb 3, 2024 1:05 PM
We may earn revenue from the products available on this page and participate in affiliate programs.

The simplest way to update your kitchen cabinets without replacing them is to paint them. But just because it’s not complicated doesn’t mean it’s cheap. According to HomeAdvisor’s latest 2021 data, it will run you an average of $700, with labor costing between $20 and $50 per hour. The only real way to avoid that expense is to tackle the job yourself.
So we are looking back to all the expert advice we’ve received, plus some fresh intel from Paul Baik, senior product manager for Behr Ultra and the company’s specialty products. Here’s a few quick tips for how to paint kitchen cabinets like an absolute pro, from the best sealers to the must-have tools.
The Best Primers for Painting Kitchen Cabinets
Priming is essential in creating a smooth, uniform surface that is ready to accept a top coat, so you definitely don’t want to skip the step or skimp on a lackluster product. For wood cabinets, Baik suggests starting with a stain-blocking primer that is acrylic based (so it adheres nicely) and mildew resistant.
When it comes to tricky laminate cupboards, opt for a primer that’s designed for intense bonding, like Behr’s Bonding Primer and Sherwin-Williams’s Extreme Bond Primer—picks that are made for tough-to-paint surfaces. It’s important to use an undercoat in the same tone as the door color to get a saturated result, especially if you’re going from light to dark.
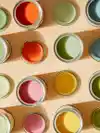
The Best Paint for Kitchen Cabinets
The best type of paint for kitchen cabinets is an oil-based enamel or a hybrid alkyd enamel paint in either a semigloss or satin finish, which levels nicely (meaning you won’t see any streaks from your brush) and is superdurable. Two coats, depending on the color you’re going with, should do the trick.
According to designers, Farrow & Ball’s Modern Eggshell and Estate Eggshell options are a must-try for kitchen cabinets. The former has a 20 percent sheen that is ideal for durability and cleanability, according to designer Gillian Segal. Here’s a brief list of tried-and-true brands:
- Farrow & Ball Modern Eggshell
- Benjamin Moore Advance
- Behr Premium
- Sherwin-Williams ProClassic
- Sherwin-Williams Emerald Urethane
- Valspar Oil-Enriched Enamel
If you’re working with laminate and IKEA cabinets, avoid full gloss, as it will cause imperfections to shine. You can also use a matte Chalk Paint product for these types of doors after you’ve given them a good sanding and cleaned off any debris.
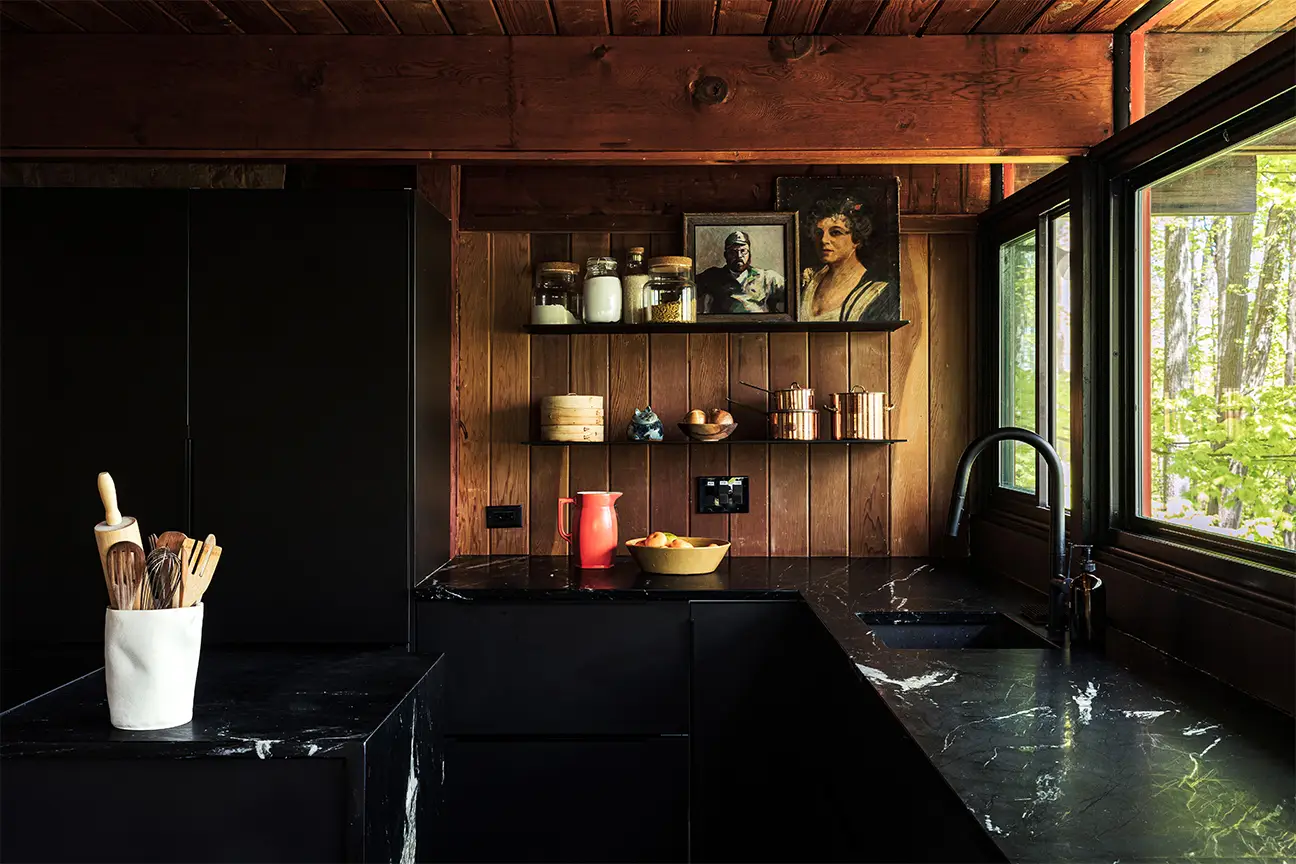
How to Paint Kitchen Cabinets
Step 1: Remove Everything
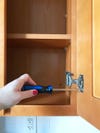
It might go without saying, but start by taking all your dishes, glassware, and pantry goods out of the cabinets. While some DIYers have gotten by without detaching the doors (Ajai Guyot claims it was easier to paint them on their hinges), most pros suggest taking the extra step, as you can more easily use a roller or spray gun when the panels are lying on a flat work table. Psst: As you unscrew each door, be sure to keep track of which one goes where (you can number them near the hinges with a marker), as it’ll make the reinstallation process a breeze. Finally, cover up the countertops, floor, and walls around the cabinets with rosin paper or plastic tarp to protect them from any unwanted splatter or dust.
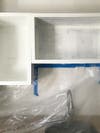
Step 2: Create a Smooth Surface
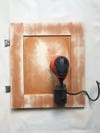
Wipe down your cabinets with a de-glosser solution, then scuff up the boxes and fronts with a medium sandpaper (100- to 150 grit), as it will help you get an even consistency. A random orbital sander tends to be best for the job, as it doesn’t leave many noticeable swirl marks in the wood. Wipe away any dust and apply a fast-drying primer, which will conceal imperfections.
Step 3: Paint Away
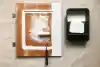
Once that’s done, you can move on to the fun part: paint! It’s important to paint wood in a dry environment, preferably where you have plenty of access to fresh air, to prevent moisture from impacting the material’s integrity. Here are some tools to have on hand, according to Baik:
- A fine-bristle brush (100 percent high-quality nylon works best)
- A mini ¼-inch roller
- An airless sprayer: .013-inch to 015-inch spray tip, 60-mesh filter
- Optional: 400- to 600-grit sandpaper to use in between coats to allow the next layer to adhere smoothly
Use the brush for small corners and details, and the roller for the main face of the panels. (Just be sure to follow that up with a brush to get rid of roller marks.) Let each coat dry thoroughly (about 24 hours), before lightly sanding and applying the second round. Once the second coat dries, reattach the door and drawer fronts and soak in your newly revamped space.