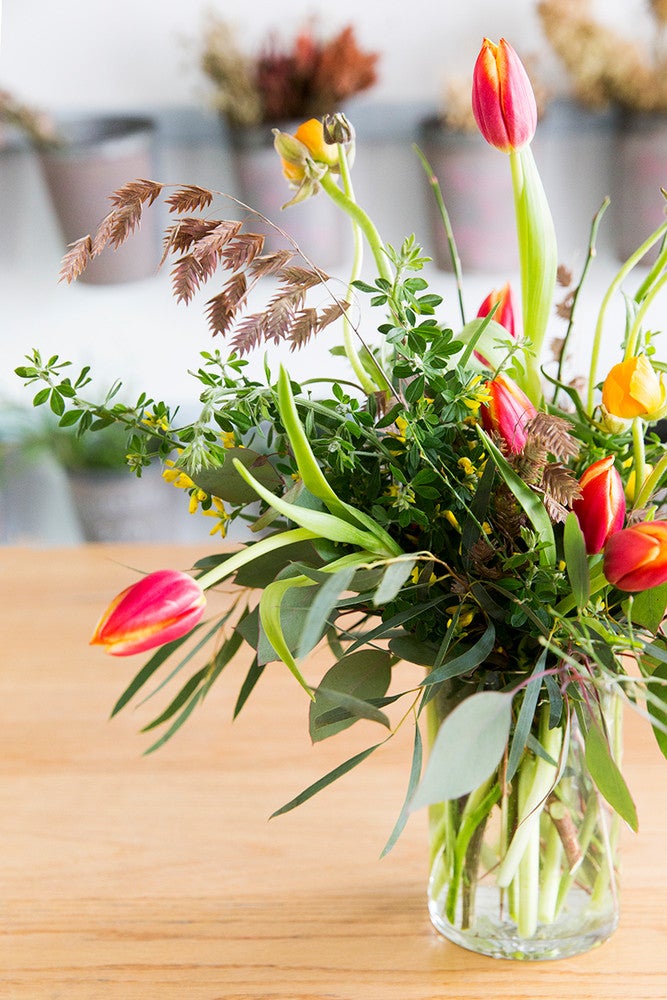
Floral Styling 101: How to Make an Asymmetrical Bouquet
Creating a wildflower arrangement with Flowerkraut of Hudson!
Published Feb 11, 2017 5:00 AM
We may earn revenue from the products available on this page and participate in affiliate programs.
It’s no secret that floral styling is a major passion of ours. Whether we’re sourcing flowers from the garden, the grocery store, or designing a centerpiece, there’s always room for a little refresh. We set out to get the scoop on creating a perfectly imperfect arrangement, from Mairead Travins – owner the oh-so-very charming Flowerkraut in Hudson, NY. Here’s what we learned!
Here’s What You’ll Need:
- standard vase
- tape
- floral scissors
- base greens: eucalyptus, ruscus, ferns
- focal florals: tulips, roses, peonies, mums
- accent fillers: bear grass, tree ferns, cherry blossom branch
Begin with a standard vase and fill it with water, about 3/4 of the way up. Using a thin, clear floral tape, create a basic 3 x 3 grid. The cross section will allow you to easily set in the plants, without having to use floral foam, which can be harmful to the flowers.
When creating the base of your bouquet, start with pieces that are bulky or branchy. These basic greens will set the foundation of the arrangement, anchoring the complete look. Be sure to strip the greenery of leaves that will potentially access the water line, as this will prohibit the flowers from lasting longer.
Pro Tip: When working with the more thick-stemmed branches, cut the stem diagonally to allow it to retain more water.
Set the base greens in each square of the grid, alternating between each of the branchy pieces.
Use the more leafy greens to line the rounds of the vase, covering the top rim. These silver dollar eucalyptus leaves do the trick! Keep adding in greens until the base of the vase is fully covered.
Pro Tip: Rotate the vase so that you have a good idea of what the arrangement will look like on all sides.
Keeping in line with the assymetrical formation of the bouquet, don’t set too much pressure on achieving a thoroughly uniform look. It’s okay if certain strands are longer than others! This will allow the finalized product to be structured yet free-flowing.
Utilize the more “fluffier” of florals to balance out the bouquet and conceal any leftover edges of the vase. Lilacs, roses, and mums are all great examples of flowers that can contribute volume along with an understated pop of color.
The next phase of building the bouquet is incorporating in the focal flowers. Think of these as the stand-out pieces that will draw the eye in with their vibrant color or texture. Roses and peonies are always ideal! When filtering in the focal flowers, cluster the pieces, especially if you’re going for the more natural look – as opposed to evenly dispersing them throughout. Slice the stems in varying lengths to contribute to the uneven look.
Lastly, add in sprigs of accent florals or fillers, think light! These delicate pieces go in at the end to contribute a sense of movement to the arrangement. Freesia or varying branches always work, as they provide an organic flow to the arrangement.


