How to Hang Curtains So the Rod Is Really, Truly Straight
Don’t tighten those screws just yet.
Published Feb 22, 2022 1:00 AM
We may earn revenue from the products available on this page and participate in affiliate programs.
You could offload the task of hanging curtains to a pro (anything to shrink that to-do list, right?), but if you’re up for a simple DIY project, it’s achievable in under an hour. We tapped Paloma Contreras, interior designer and founder of Paloma & Co., and Domino’s own style director, Naomi deManana, for step-by-step guidance. They also dished on which curtains work best for every room, fabric recommendations, and panels that hang well—read on.
Which Curtain Fabrics Look Best in Which Rooms
This mostly boils down to personal style and your natural light preference, but there are a few practical tips to consider. “Choose a classic combination of fabric and trim that you will not tire of anytime soon and could potentially move with you to your next house or stay in the room in the event that you decide to redesign it,” Contreras writes in her book Dream Design Live. Think: a linen blend with an embroidered trim. However, if you can’t stop thinking about a psychedelic floral, there is a case for going for it. “If you love it enough, it will feel timeless and you will continue to love it for years,” she adds.
The Bedroom
Darkness and quiet are essential to getting quality sleep, so blackout or soundproof curtains are your best bet for a bedroom. The panels tend to be made of heavy or tightly woven fabrics like wool, velvet, and brocade, but you can also buy lighter materials such as linen and silk that come with a liner (or you can add your own). Psst: Soundproof panels are great for workspaces to prevent distracting noises from interrupting your flow.
The Living Room
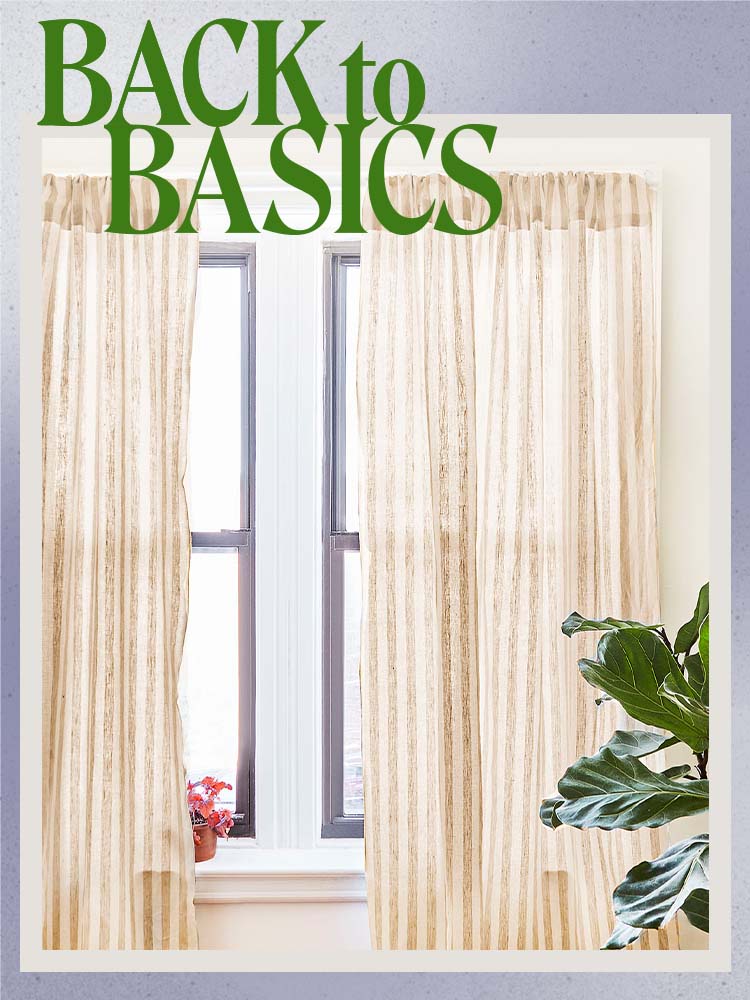
Cotton is the king of versatility—it’s easy to clean; color palettes are plentiful; and the fabric can be formal or casual, which can work well in a multipurpose space like a living room. If you want something lighter and a little sheer, though, linen is Contreras’s pick. “My go-to curtain style is a tailored linen curtain with a beautiful trim on the leading edge, a French pinch-pleat header, generous width, and a 1-inch break on the length, which means that the bottom just touches the floor without any puddling,” she says.
The Kitchen
As deManana mentions in our blackout curtains roundup, delicate textiles won’t fare well in the kitchen due to exposure to cooking grease, dust buildup, and the occasional spill—particularly if they’re on the longer side. Stick with sturdier materials like cotton, or go with sheers such as lace, chiffon, and voile, which allow in a bit of light (and style) without sacrificing privacy.
The Bathroom
Moisture-resistant, machine washable fabrics like cotton make excellent bathroom curtains because they’ll need to be laundered regularly to prevent mildew. Just be sure to use low heat to avoid shrinkage. Stay away from weightier textiles like velvet—routine cleanings could be a lot of work because spot removal can be difficult (the material doesn’t respond well to certain detergents) and you risk ruining the shape.
Should You Choose Solid or Patterned Curtains?
Consider the mood you want to set. For more drama, go for high-contrast patterns in deeper reds, blues, grays, or purples. Stick to subtler prints like checks, abstract designs, or stripes for a more laid-back feel. And if you’re a minimalist or already own a patterned sofa or area rug, solids—you can’t go wrong with a crisp white curtain—are where it’s at. “It doesn’t have to be something that stands out,” says deManana. “The pattern element could be subtle like a decorative trim or a hem, which adds a tailored look.”
How to Hang Curtains
The Supplies
- Tape measure
- Curtain rod with brackets (for outside and and wraparound mounts) or tension rod (for inside mount)
- Screws
- Drill
- Level
- Pencil or washable marker
- Ladder or step stool
- A friend to assist
Step 1: Measure Your Windows

Complete this step prior to purchasing your panels—we cover it in-depth in this story—then measure the height and width of the windows again with the rod placement in mind. An important note: You can hang your rod inside the window casing with a tension rod, on brackets that go above the window, or using a wraparound rod that mounts on the edges of the window frame with screws. Once you’ve determined how you want to mount the rod, mark the height and width with a pencil or erasable marker.
“Whenever possible, go all the way up and hang your curtain rods about 2 to 3 inches under the crown molding or ceiling,” Contreras advises. “At minimum, hang the rods at least halfway between the top of the window frame and the ceiling.”
Keep in mind that using tab-top panels or clip hooks will add a few inches to the length of your drapery. So you’ll want to adjust the rod height up or down depending on how long you want your curtains to hang.
Contreras adds, “Depending on the size of your windows, rods should ideally extend 6 to 12 inches beyond the window frame. Doing so gives the windows a fuller look and ensures that the bulk of your curtains will sit on the outer part of the window rather than covering the window and blocking natural light.”
Step 2: Install the Brackets or Hooks

Next, mark the spots where you plan to mount the rod brackets with a pencil. Usually, you’ll be working with two, but if your curtains are heavier, deManana suggests mounting a third bracket in the middle of the window frame for added support. Use a level to make sure that the rod will hang straight and check that the brackets are an even distance from each other. Then drill in the brackets almost all the way, leaving about an inch of space between the bracket and the wall in case you need to make adjustments later.
Step 3: Mount the Curtain Rod
Using curtain rings? Attach them to the fabric first, then slide the rings on the rod. If you’re doing an inside mount, you’ll simply want to slide the curtain on the tension rod, then place one end of the rod inside the window frame and extend it until it touches the other side and fits securely into place. For an outside-mount or wraparound rod, put the curtains on the rod and place it into the brackets per the product’s instructions.
Step 4: Tighten Your Brackets
If you realize your rod isn’t straight or the brackets aren’t evenly spaced, this is your chance to remove the screws, mark spots for the new mounting locations, and recheck the rod and bracket distance before drilling new holes. When everything is to your satisfaction, have a friend hold one end of the rod to support the weight of the curtains while you tighten the brackets on the opposite end. Swap sides and do the same on the other end. “Depending on your style, you could add tiebacks to hold the curtains open at this point,” adds deManana. Then it’s time to, well, hang out.