We may earn revenue from the products available on this page and participate in affiliate programs.
produced by ALYSSA CLOUGH photography by MICHAEL WILTBANK
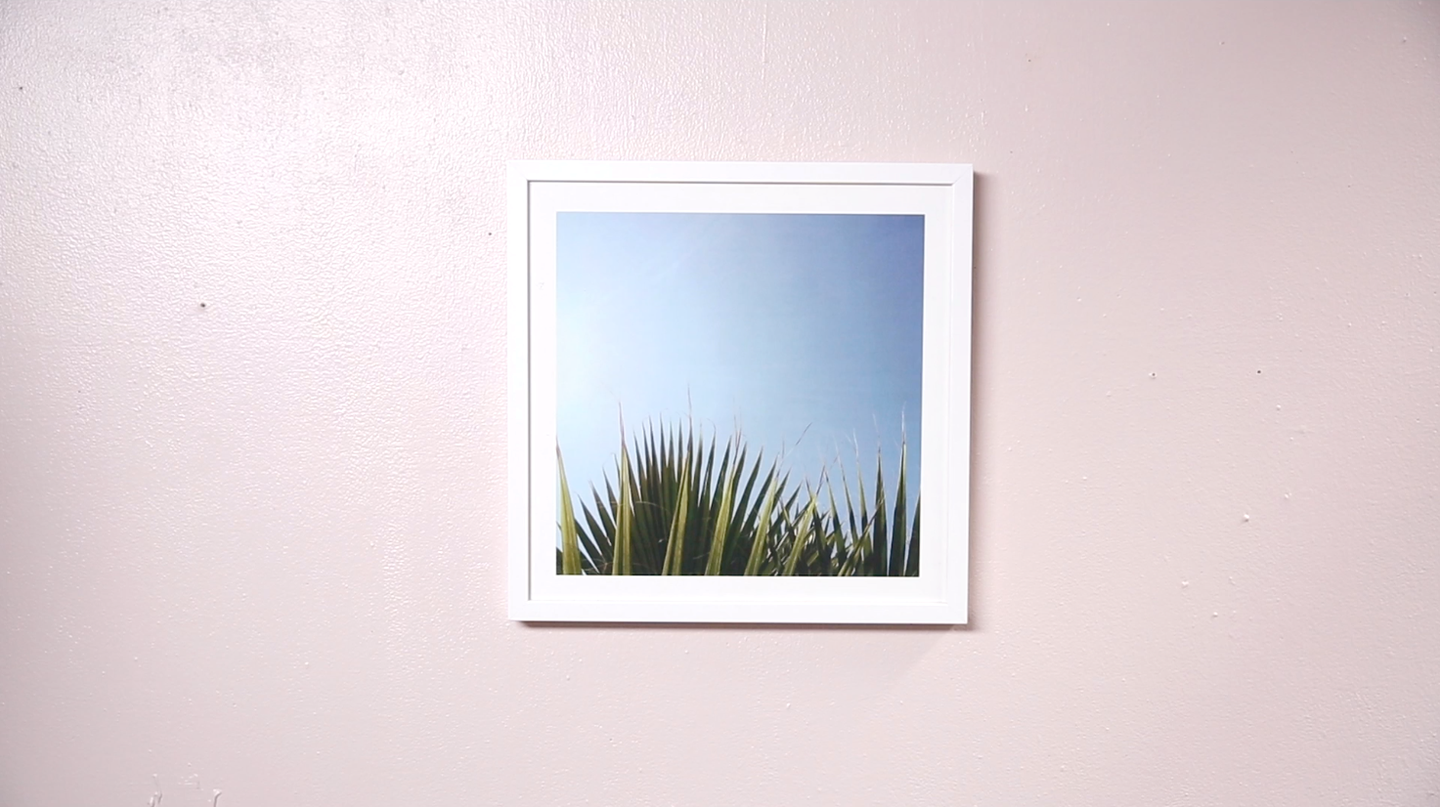
Holes in your walls happen. We’re not talking big ones (hopefully!), but smaller ones, like from nails,
gallery wall artart”] etc. Sometimes your walls need a refresh… Which means your walls also need a patch-up. Watch our how-to video below!
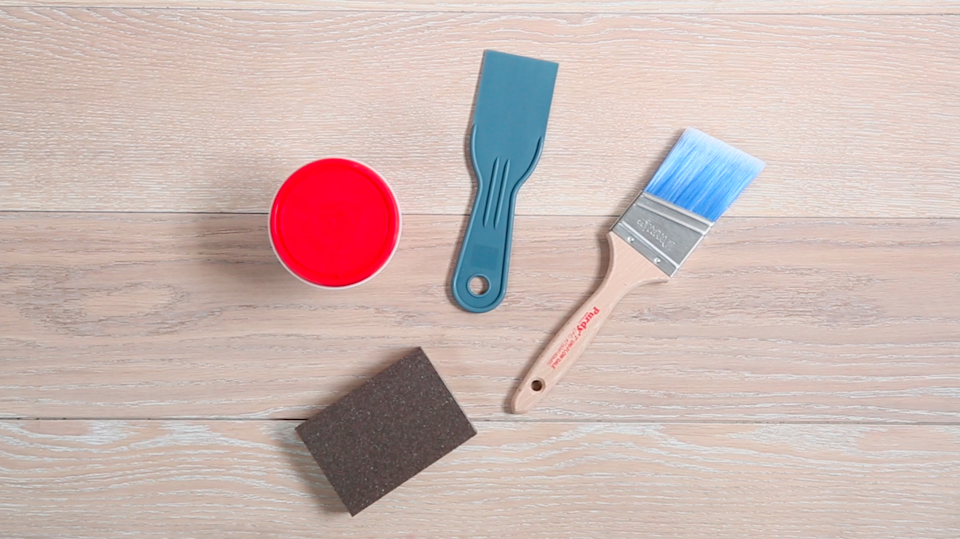
TOOL LIST
- spackle
- putty knife
- fine grit sandpaper
- paint
- paintbrush
- Remove your artwork and nails from the wall (duh).
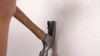
- Now, it’s time to fill ‘em in. Dip the corner of your putty knife into your tub of spackle. Start with a little bit—you can always add more. Smooth it over the hole, with an emphasis on filling in the hole. Don’t worry about making a mess, you’ll be sanding and painting later!

- Play the waiting game. Let your spackle dry for 5-10 minutes.
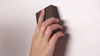
- Lightly sand the entire area until the surface is smooth and looks similar in texture to the rest of your wall.
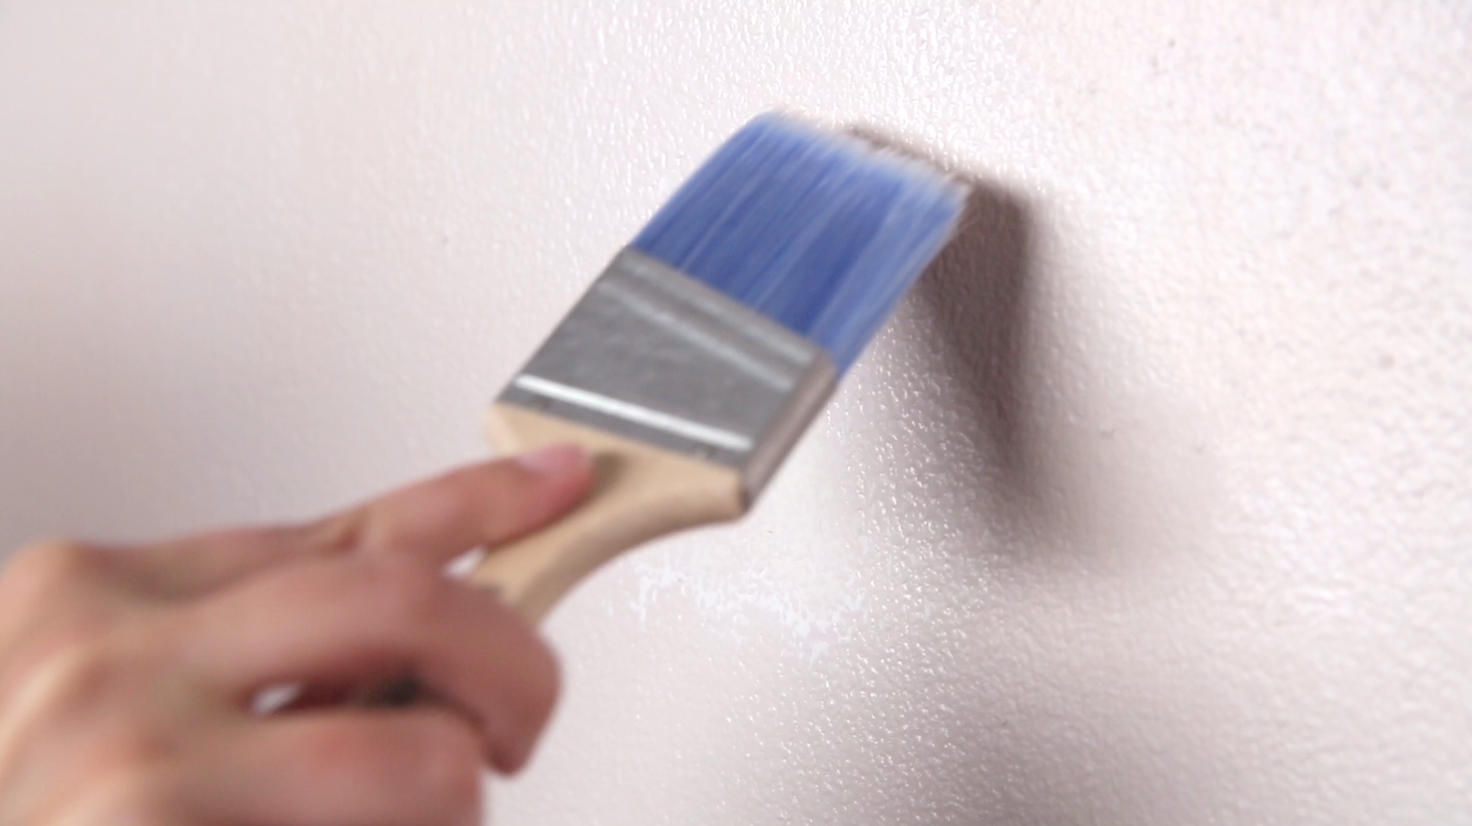
- Make a judgement call if you need primer. If you’re patching up a super small area of your wall, you can skip. But if you know it will affect the finish or color of your paint and you have it handy, use it! Post-primer, paint lightly in an x-motion, making sure not to leave any unsightly globs of paint behind.
- Let the paint dry sufficiently overnight before rehanging any artwork and enjoy!