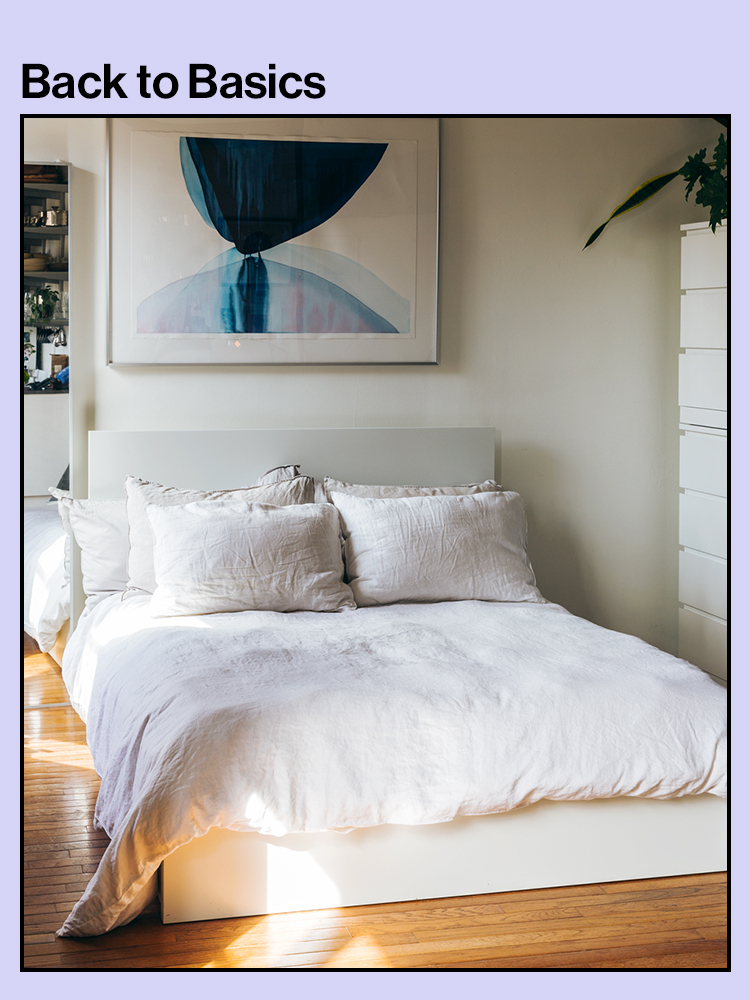
How to Clean a Mattress With Supplies You Already Have at Home
Plus how often you should do the job.
Published Apr 14, 2022 5:50 PM
We may earn revenue from the products available on this page and participate in affiliate programs.
Unless you’re a stickler for spotless spaces, merely thinking about how to clean a mattress is intimidating. Here’s the thing: Freshly laundered bedding can only do so much to minimize your skin’s contact with dust mites, dead skin, and other allergens, so the task is a must. Fortunately you can get the job done without relying on a professional cleaning service; all you need are a few simple supplies that you already have in your cabinet. Besides, the DIY route is quicker and more cost-effective, which is always a plus in our book. We chatted with Boll & Branch founder and head of design Missy Tannen to get the scoop.
Why Cleaning Your Mattress Absolutely Belongs on Your To-Do List
As a foundational layer, mattresses can collect some pretty icky stuff that you’ll breathe in over time, Tannen notes. Sweat, stains, and other everyday debris can often be the culprit for unpleasant odors that make your bed the last place you want to be. At worst, they can cause illness if inhaled. In addition to eliminating these pesky particles, routine cleaning can help extend the life of your mattress—in some cases, lingering bacteria or untreated spills can break down its contents, which could lead to you needing a replacement quicker than you planned.
How Often Should You Clean Your Mattress? Make It a Routine Thing
While some experts suggest cleaning your mattress every six months, Tannen recommends aligning your schedule with the seasons so there’s a natural flow to the process. “For example, as you’re thinking about your spring bed and taking off some of the heavier layers or switching out your throw pillows, that’s a good time,” she says. Quarterly refreshes are easy to remember, plus they’ll prevent dirt buildup (which can happen even without a visible stain), particularly for anyone who tends to spend a lot of time in bed.
When to Spot-Clean Your Mattress
If you spill something on your bed or notice a spot—even if you’ve recently cleaned your entire mattress—it’s best to tackle the area immediately so whatever it is doesn’t seep any further into the layers. Gently blot the area with a clean washcloth to pick up the excess liquid and you’re good to go.
If you’re in the market for a new mattress, browse these Domino-approved picks:
How to Clean a Mattress
The Supplies
- 2 clean, absorbent rags
- Spray bottle filled with cold water
- Gentle, bleach-free laundry detergent or cleaner (Tannen recommends an all-natural product because harsh chemicals can remain in the mattress)
- Baking soda
- Blow-dryer (optional)
- Vacuum cleaner with adjustable suction attachment
- Mattress protector (optional)
- A friend to assist
Step 1: Strip the Mattress
Remove all your bedding, including the pillowcases, fitted and top sheets, comforter, and mattress protector. If you have a mattress topper, take that off as well and set it aside in a clean, dry place.
Step 2: Wash Your Bedding
What’s the point of having a squeaky clean mattress when your sheets are a mess? While you’re preparing to tackle the heavy-duty job, toss your covers in the washer so they’ll be fresh, crisp, and inviting, too.
Step 3: Spot-Clean Old Stains
Thoroughly inspect the surface for visible stains, strange odors, and discoloration. Address one spot at a time. Lightly spray a rag with cold water and gently rub the affected area, being careful not to create too much friction between the rag and the mattress. In some cases, water will do the trick on its own, but if the stain is stubborn, add a small amount (no more than a few drops) of detergent to another clean rag, then gently blot the mark until it’s gone. Avoid putting detergent directly on the mattress or drenching the rag. “You want to make sure the dampened area dries completely and doesn’t mildew,” Tannen advises.
Step 4: Suck Up Dust and Debris
Grab your vacuum and hover the attachment a few inches away from the surface to remove any dirt, crumbs, or other debris that has settled into the mattress. Allow the air suctioning to do its job instead of using rough contact; you don’t want to rip the mattress, says Tannen.
Step 5: Flip It, Then Clean Some More
With the help of your very nice friend, carefully lift the mattress off the bed frame and lean it against a wall or the nearest sturdy spot where it won’t fall. If necessary, repeat the spot-cleaning process. Afterward, vacuum the bottom and sides of the mattress. Bring your vacuum over to the bed frame and run it along the edges that the mattress sits on. Gently lower the mattress back onto the bed.
Step 6: Neutralize Odors With Baking Soda
Sprinkle a thin layer of baking soda over the top of the mattress to get rid of any lingering smells and absorb any last traces of moisture. Allow the substance to sit for a few hours, if possible, for best results. Suction the baking soda off the mattress with the vacuum, making sure the surface is completely free of any remnants.
Step 7: Protect It From Future Run-ins With Dirt and Stains
Before you bask in the freshness of your good-as-new resting spot, Tannen says adding a mattress protector is a must, specifically one made from an organic cotton material that safeguards the surface without exposing you to chemicals. Additionally, it acts as a barrier between you and the cushioning (it goes under the fitted sheet) to keep out bedbugs and dust mites. If that’s not enough to convince you, consider this: The basic addition could extend the life span of your mattress by a few years.