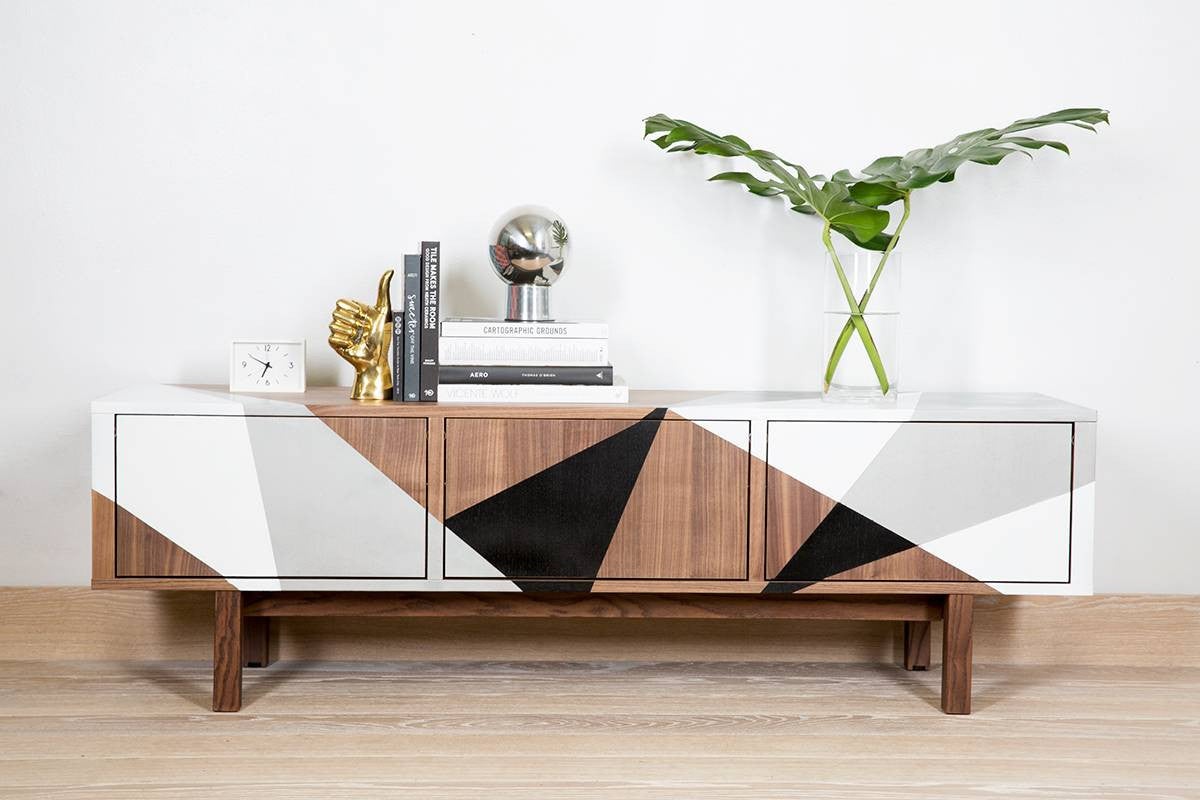
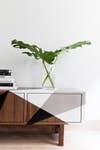
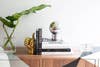
DIY dresser upgrade: pin-worthy graphic art!
Published Aug 5, 2016 4:00 AM
We may earn revenue from the products available on this page and participate in affiliate programs.
ALL YOU NEED IS KRYLON® SPRAY PAINT
photography by MICHAEL WILTBANKS produced & styled by ALYSSA CLOUGH
At domino, we’re all about a good do-it-yourself upgrade—the less prep work and supplies, the better. Which is why we are thrilled to present you with this totally doable DIY that will completely transform your space. All you need is tape, Krylon® SUPERMAXX® ALL-IN-ONE paint, some thick paper (wrapping paper works, too!), and an inspired, graphic design. No sanding or priming required; simply tape, spray, and enjoy!
Keep reading for tips to help you create your dream DIY.
-
select your furniture
It doesn’t matter whether it’s an old, thrifted console, a newly purchased credenza, or a piece you already have in your home—your paint project is going to look great.
-
choose a color palette
Select between three and five Krylon® paint colors to incorporate into your design. Mixing in metallics is definitely more fun (we chose Krylon® SUPERMAXX® All-in-One Metallic Finish in Satin Nickel), just make sure the colors you choose go well with the rest of your décor.

-
draw your design
You can do this by hand or on your computer, whatever you’re most comfortable with. Also, you probably won’t design the winner on your first try! Draw a few different graphic patterns and learn what you like and don’t like about each before taping your final design.
-
it’s go time…
Or more like, dry time. Remember to read the label for application and dry time instructions. Budget enough time for each coat and color of Krylon® paint to dry (always be sure to spray in a well-ventilated area!). Use tape to map out the places where you are going to apply your lightest color first, covering any areas that you want to avoid. Since you can’t tape over wet spray paint, plan other tasks or activities throughout your DIY so you don’t rush yourself and mess up your design. Once your lightest shade is sufficiently dry, tape off the pattern for the next darkest color. Repeat this process for as many colors as you’ve chosen.
Watch the full video to see this dresser go from boring to totally beautiful.
Visit Krylon.com for more inspiration!
Want to know what we’re pinning right now? Follow us on Pinterest here!