Hide Your TV in Plain Sight With This DIY Plaster-Coated Bookcase
There’s a trick to the perfect suede-y finish.
Published Oct 26, 2021 1:10 AM
We may earn revenue from the products available on this page and participate in affiliate programs.

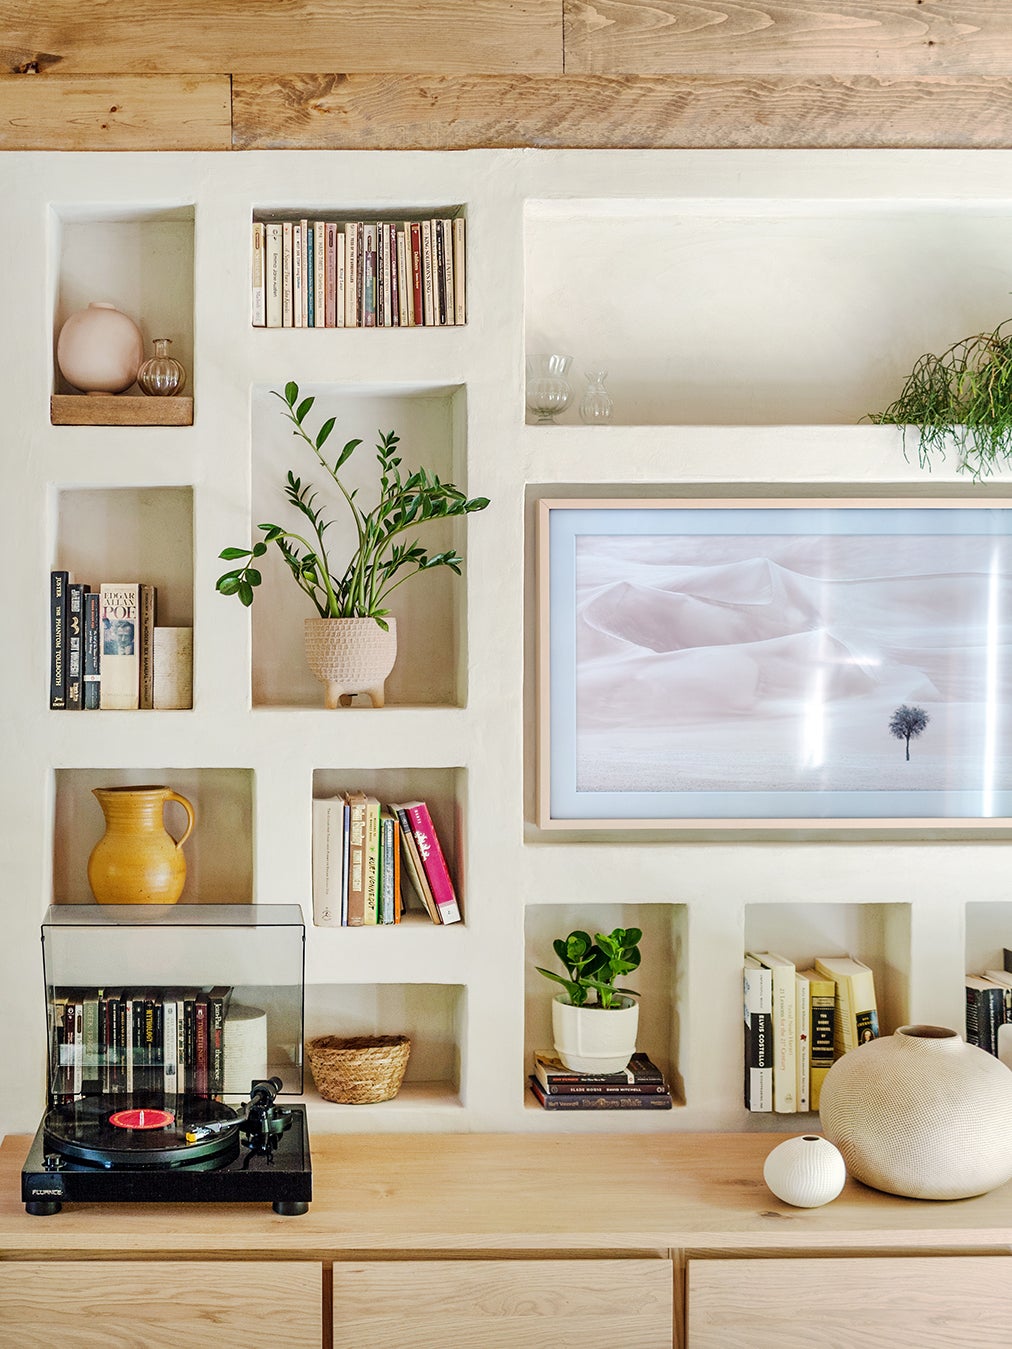
From a remote-controlled lift to a rug hooked up to a dowel, we’ve seen just about every TV camouflage hack in the book. But all these tricks use some other tool or covering to disguise the big, black box. How do you hide it in plain sight? Danielle and Ely Franko, creators of the Hunter Houses, a series of vacation rentals in New York’s Catskills, found an answer while renovating their latest cabin: DIY plaster-coated niches.
The project originally started out as just a plain wood structure that would “disappear into the walls,” says Danielle. “But we quickly realized that we needed some visual balance, so we started thinking of ways to incorporate other textures and tones.” The old-world–looking treatment makes the built-ins appear as if they’ve always been there. Now dotted with plants, books, and small vessels, you barely even notice the screen in the very center. Check out the pro renovators’ full-fledged guide to the DIY here or follow along as Danielle walks us through the steps, below.
Step 1: Measure Your Stuff First—TV Included
In order for the television to look as built in as possible, the Frankos needed to know its exact dimensions, so they picked it out before getting started on the wall (they went with Samsung’s Frame TV). Then they carved out specific alcoves for their Marshall Stanmore II speaker and also for a few planters and vases they knew they would be placing on the shelves. “We wanted some symmetry from left to right, but we also wanted it to feel organic, so we put up temporary wood shelves and moved them around until it all felt natural,” notes Danielle.
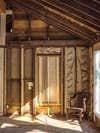
Step 2: Build the Bones
After securing the plywood backing and 2-by-6 studs that make up the frame of the bookcase, the couple covered the wood surface with drywall. “It was such a tedious job to cut all the pieces of drywall for the backs and sides of each niche, but we really wanted to do it right,” says Danielle. It gives the plaster something to adhere to (their worst fear was to have their plasterwork crack and peel). Next up, Danielle put mesh tape around all the corners and applied two coats of all-purpose joint compound over the tape with a putty knife to get smooth edges.
Step 3: Start With a Solid Base
Danielle mixed one pound of American Clay’s sand additive into one gallon of Kilz primer to give the mixture a slightly gritty texture. After stirring it well, she swathed the built-ins using a 6-inch short roller.
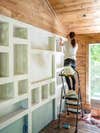
Step 4: Get to Plastering
Once the primer fully dried, she got started on the base coat by slowly adding water to a 5-gallon bucket of the finish (the pair landed on Loma in Snow Canyon from American Clay). Ely mixed it with a heavy-duty drill attachment until the plaster was the consistency of soft-serve ice cream. After letting it rest for an hour, Danielle put some product onto her large hawk (picture a large handheld tray) and scooped it off with a metal trowel to finally get it on the wall. The goal: coat every square inch of the bookcase in a layer that is about the thickness of a credit card. “Embrace the imperfect,” she says. She was after a suede-like, natural finish, so she wasn’t overly concerned with getting crisp edges.
“The most challenging part was how physical the labor was with the design we chose. I think starting our first DIY plaster project with a wall would have been much easier than all the nooks and crannies of a built-in bookcase with 20 niches,” says Danielle. The finishing coat she applied was slightly lighter in color (Lomalina in Snow Canyon combined with the company’s Sugarloaf White pigment). Misting the area she was working on with some water helped extend the time she had to work with the material before it dried. The second time around, she paid more attention to getting an even texture and fixing any areas on the base coat that looked off. Once it was all dry, she (very lightly) went over the plaster with a damp tile sponge in a circular motion to give it that covetable matte appearance.
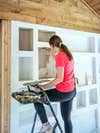
Step 5: Do It Again on a Smaller Scale
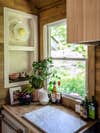
To tie the living room space to the adjacent open-layout kitchen, Danielle added a small plaster-coated niche by the cooktop. “It’s really nice when you can tie elements from one space to the next to create some visual continuity and cohesiveness throughout the home,” she says. At this point, she’s a pro at the task.