$300K Later, Our 130-Year-Old Brownstone Has Its Original Charm Back
“It was basically begging us to get our hands on it.”
Updated Oct 11, 2018 4:38 PM
We may earn revenue from the products available on this page and participate in affiliate programs.

In Renovator’s Notebook, homeowners open up about the nitty-gritty of their remodels: How long it really took; how much it actually cost; what went horribly wrong; and what went wonderfully, serendipitously, it’s-all-worth-it-in-the-end right. For more tips to nail your next project, follow @reno_notebook.
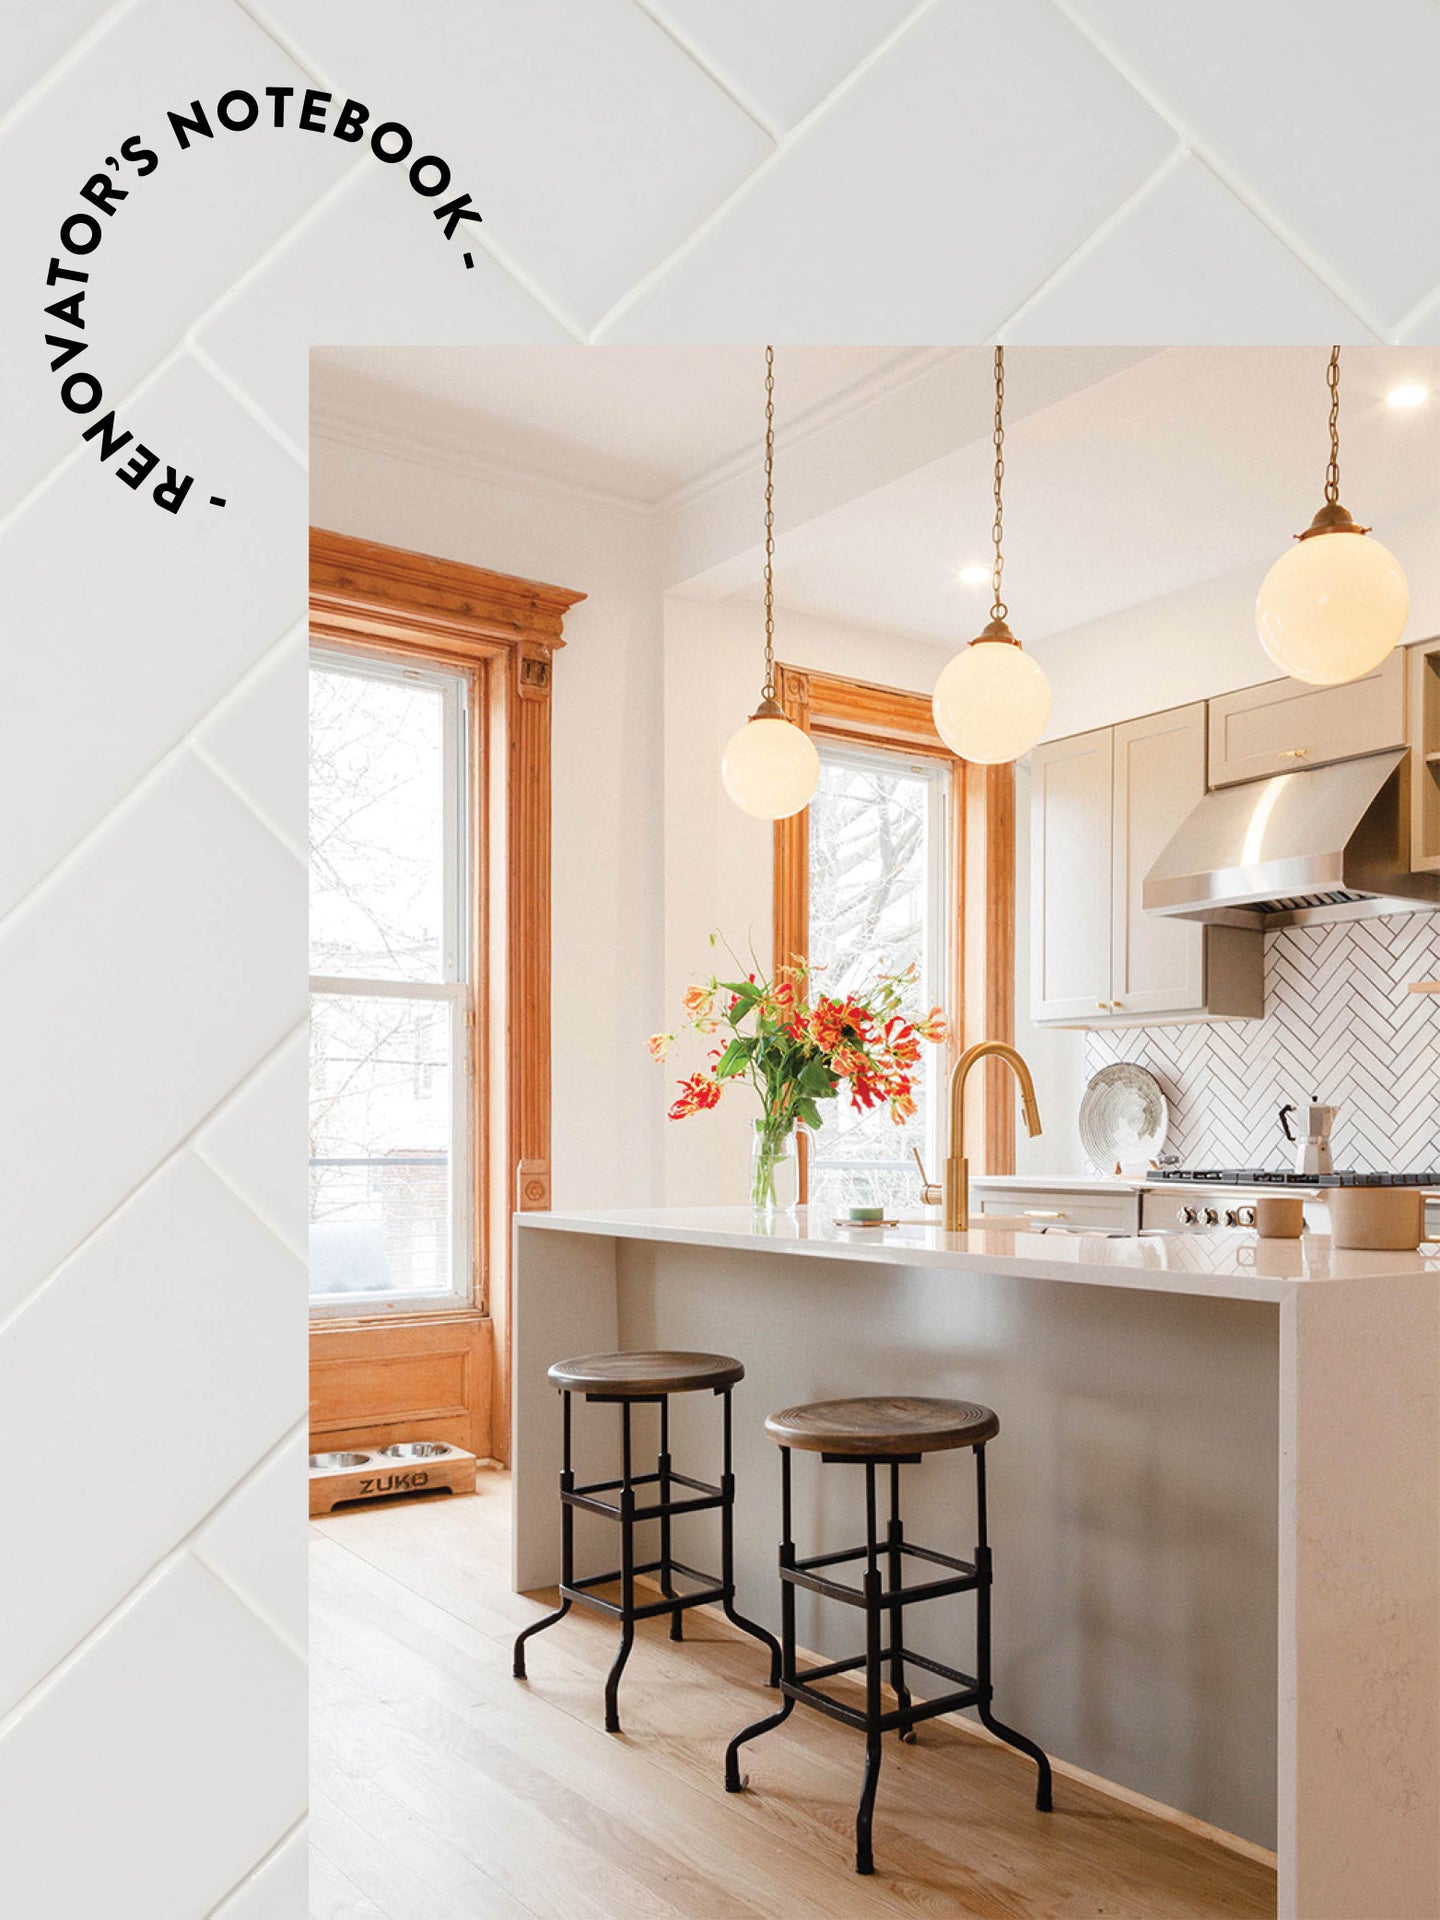
Size: 2,500 square feet • Timeline: 9 months • Year built: 1890 • Budget: $300,000
Top priority: Returning the original brownstone charm
Barry Bordelon and Jordan Slocum spent the entire summer of 2018 biking around Brooklyn in search of their dream home. On their wish list: a charming tree-lined street; period details; rental income potential; a yard for their Labrador, Zuko; and a reno project to sink their teeth into (Bordelon had already remodeled his previous place, and they were ready for a bigger challenge). “We saw so many places that were in really bad shape or had all of the original features stripped out,” says Bordelon.
One lonely Bedford-Stuyvesant brownstone checked all the boxes: It had been carved out into a five-bedroom duplex above a one-bedroom rental and gone through a series of renovations, but plaster moldings and authentic woodwork remained. Each bedroom had its own deadbolt (the house was used as multiple vacation rentals by prior owners). The moldings were covered in so many layers of paint that the architectural details could hardly be seen. “Everything was just unappreciated and not cared for,” remembers Slocum. “It was basically begging us to get our hands on it and save it.”
The couple embarked on a nearly yearlong gut renovation to bring the house back to its roots. In addition, they quit their day jobs in software sales and marketing to focus on helping other Brooklynites tackle their own reno projects under the banner The Brownstone Boys. Here, they share their victories and what they learned along the way.
Save: Carve Out a Safe Place to Live During the Project

Barry sold his place pretty quickly, leaving him the option to move into my very small studio in Prospect Heights. We both made the decision to let go of our places and move into the rental apartment on the garden level of the brownstone instead. It was something we really thought long and hard about, as everything we were reading said to live away from the construction. Fortunately, the garden apartment is very separate. We ended up saving a lot of money, and it was nice to get a feel for the neighborhood. Being on the property to accept packages and confirm everything on-site was a huge benefit, too. We were able to monitor progress daily and stay on top of the general contractor just by going upstairs. We still had to deal with the occasional frustration of living in a construction zone, but it wasn’t that bad.
Splurge: Preserve the Historic Facade

The exterior is a work in progress. For better or worse, owning a 130-year-old house means there will always be projects to focus on. It was in decent shape when we bought it, but we did need to restore the double front door. Soon we’ll be redoing the chipping brownstone on our stairs. It’s expensive artisan work that will cost between $3,000 and $5,000, but it’s worth it to maintain the building’s character. We were fortunate that the cornice was intact and the facade was in good condition, because that can cost up to $40,000 to update!
Save: Salvage Old Details


Our existing floors weren’t terrible, but they were definitely not the best. We initially couldn’t look past the finish: They had been done about six years earlier in a terrible white-pink stain. We got several quotes to completely tear them out and replace them. We even considered a herringbone pattern, which would have been beautiful but even more expensive. But we ended up sanding down a patch of the existing wood and discovered really nice white oak. We used a commercial-grade natural matte finish from Bona that could withstand wear and tear from our 85-pound silver Lab. It took a couple of weeks, but they turned out better than we could have imagined.
Splurge: Make the Floor Plan Work for You

We removed a bedroom and bathroom from the parlor level to create a big open kitchen, living, and dining area. We deliberated taking out the main wall that separates the living area from the stairs and entryway, but the original plaster molding on both sides and original woodwork around the opening would have been lost. Plus the formal foyer creates an experience that you don’t get in most modern homes. Ultimately, we decided to keep it. Upstairs, we reworked the layout to include three bedrooms and added one additional bathroom. We hope it echoes the original floor plan as much as possible.
Save: Fake a Custom Kitchen
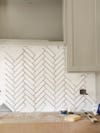
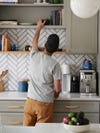
In the kitchen, we knew we wanted gray Shaker cabinets (we had saved tons of inspiration photos, all in the same style). However, we were on a pretty tight budget—expenses can skyrocket when you’re renovating a historic home. Custom cupboards were out of the question. We found a local company that made inexpensive solid wood cabinets that came preassembled in a standard color that was very close to what we wanted. We dressed them up by upgrading the hardware with pulls from Buster + Punch and adding a herringbone tile backsplash. It ended up costing us $6,500, which is a great deal cheaper than if we would have gone for a bespoke option.
Splurge: Focus on Details That Make You Smile
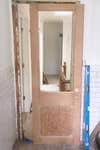
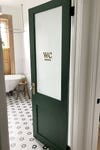


Since there wasn’t a guest bathroom before, we wanted to make sure the new addition fit in with the house. We thought it would be fun to get a vintage door with opaque glass, in the style of an old-school office. The problem was finding one! We ended up compromising: buying the right-size door at a vintage shop in Pennsylvania for $175 and then altering it to have a glass opening. We discovered beautiful vintage chicken-wire glass from Olde Good Glass and had it retrofitted, then worked with House Number Lab on a custom “WC” stencil. Lastly, we painted it a bright green and installed a glass doorknob. It makes us happy every day!
It’s hammer time: Follow @reno_notebook for easy rental updates, clever DIYs, and tips to nail your next project.